I got news on this day (and I am just now blogging about it almost a week later) that I was being hired for a part-time retail position at one of my favorite Portland places, SCRAP! I start tomorrow, May 3rd, and have to admit I am extremely excited because I love garbage and I love their waste reduction and education mission.
Reclaimed Material: wood scrap
Other Material: none
Tools: paint, paint brushes, pencil
How I did it: This was one of the first designs I sketched out in my lil' notebook, and probably one of my favorites. I sketched out the drawing on the wood and painted it.
What I would do differently: The only thing I don't really like about this one are the corner decorations. This picture was taken the next morning, so I really wasn't this far along on the 26th.
My 2012 resolution is to create a recycled craft everyday from discarded items. I am sure some crafts will turn out great...and others not so much, but I will admit those. I hope these experiments inspire people to create things from items they would usually throw away. This is not necessarily and instructional blog, but a journal of my creative journey, but I hope this sparks ideas for creative upcycling for you. If any instructions are needed, just ask.
Wednesday, May 2, 2012
04/25/2012 - "Pepper" Plant Marker
This was a very fun crafty day for me! I went to the Destination DIY "Makin' It" Party, got interviewed on the Portland KGW8 News and won a Destination DIY t-shirt, and a SCRAP "To Go Kit"...not to mention free beer and pizza. I worked on this plant marker during the day and cut up rubber strips and chatted away at the party.
Reclaimed Material: wood scrap
Other Material: paper
Tools: paint, paint brushes, pencil, printer, scissors
How I did it: I sketched and painted the lettering on this marker before I added the picture. My drawings and paintings of people are cartoonish at best, so I used a real photo of Jason to turn him into a turn-o-the century "doctor" selling his miracle product. I printed his picture in a sepia tone and painted a hat, mustache and suit on him. I cut it out and used a glue stick to adhere the photo to the wood and painted a border.
What I would do differently: During my volunteer time at SCRAP I have met some awesome crafty artists who have given me some great tips and info. I learned from a fabulous artist, Erica, that oil paint takes at least 2 weeks to dry. Yes, I used oil paint because I had a lot of colors and didn't want to go out and buy more paint. The plan is to varnish these signs so they can live outside, but it will be a while yet.
04/24/2012 - "Cabbage" Plant Marker
This wood scrap is from a finished piece of flooring and the finish and wood color seemed to go with red and black. I am beginning to regret this decision though.
Reclaimed Material: wood scrap
Other Material: none
Tools: paint, paint brushes, pencil, Uni-ball pen
How I did it: This wood cleaned up easily because of the finish, so that was a breeze. I sketched on my lettering, then used the pen to fill in the lettering. I used red paint to make a box and paint the sides of the wood scrap, then finished off the lettering and box with the pen.
What I would do differently: The Uni-ball ink flowed so nicely and worked great with the lettering...but it just will not dry! grrrrr. I have pencil marks underneath that I can't clean up because the ink won't dry and keep smudging. I am most likely going to redo this and maybe make a picture of a cabbage patch with different Zoe faces in each cabbage. I do love the lettering style though.
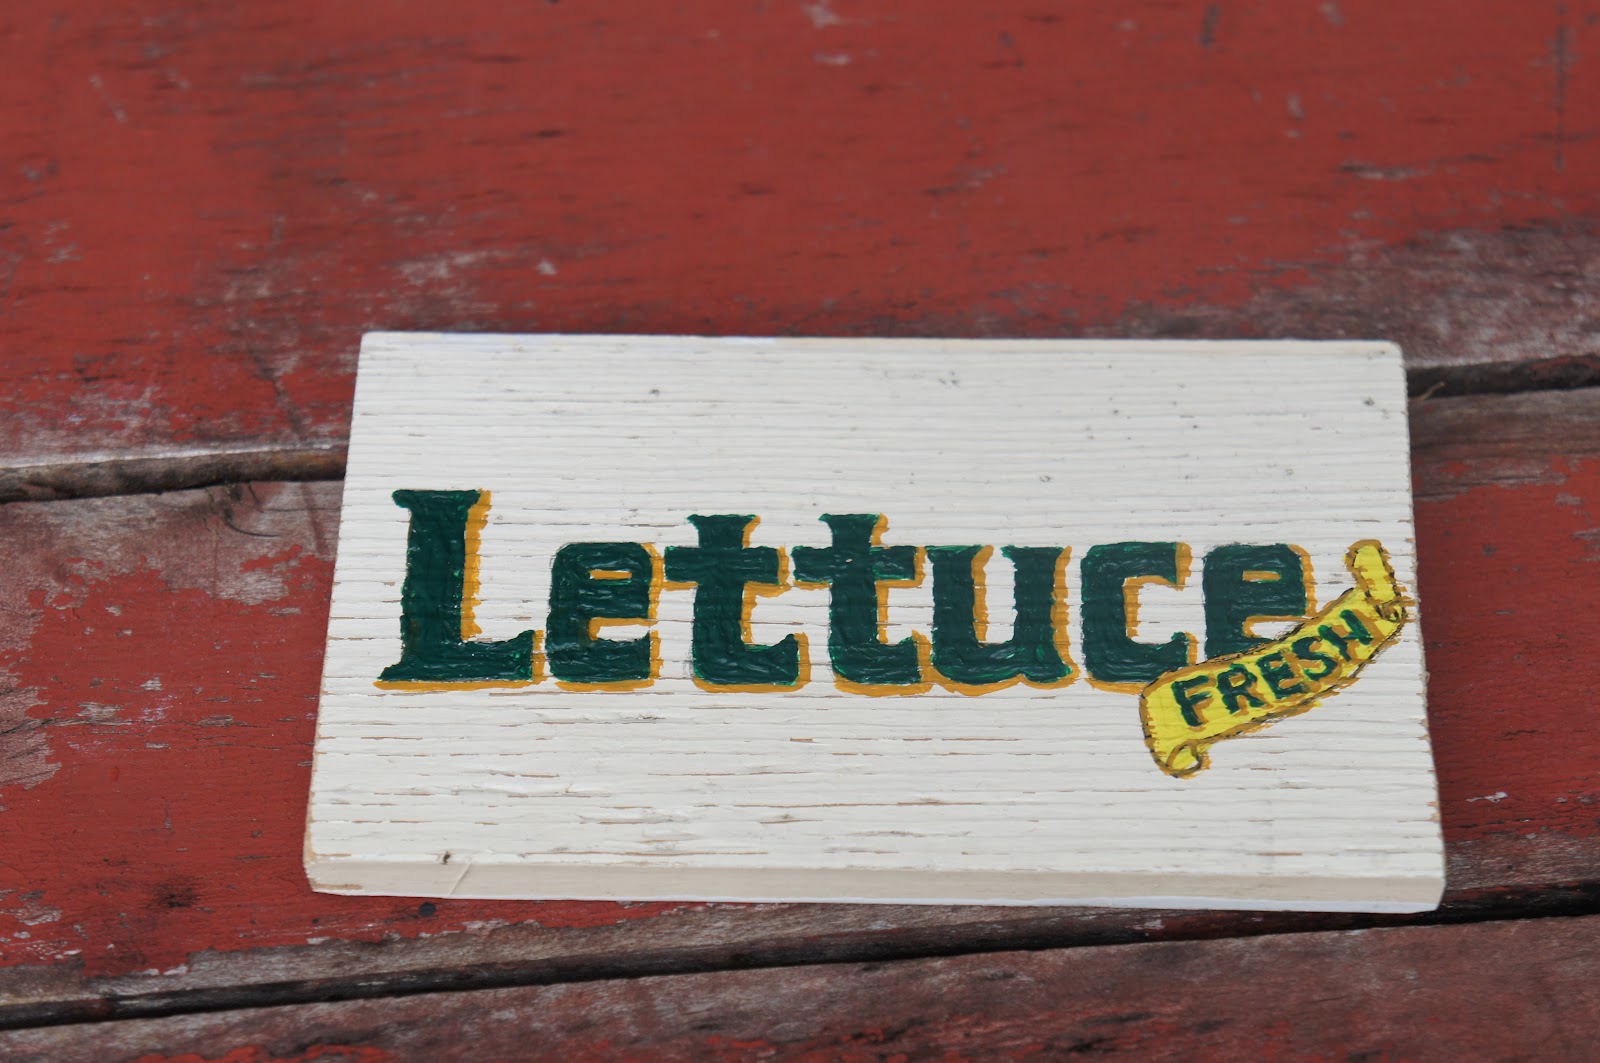
04/23/2012 - "Lettuce" Plant Marker
I love old advertisements, from the Victorian era through World War II. That is the look I am trying to accomplish with these markers. I did a bit of internet research and looked at various vintage advertisements to come up with my designs for these.
Reclaimed Material: wood scrap
Other Material: none
Tools: paint, paint brushes
How I did it: Just like the tomato marker, I cleaned up the wood, sketched out my design and painted it on. The wood scrap was already white and liked how the finish was weathered so I left that alone.
What I would do differently: This marker is a little more interesting than the tomato marker. I wouldn't change this one, even though it is simple.
04/22/2012 - "Tomatoes" Plant Marker
Can you tell I am on a gardening kick? I have never been as excited about gardening as I am this year. It must be all this Oregon rubbing off on me. I am quite certain I won't let myself kill too many plants this year. Well, I am hoping my little markers will keep me motivated.
Reclaimed Material: wood scrap
Other Material: none
Tools: paint, paint brushes
How I did it:
The piece I used is from a broken vintage cigar box so I only had to clean it up a bit. I sketched out the design and painted "tomatoes" on the front.
What I would do differently: Now that I have gotten around to doing this post, I have done 4 other markers and each one has gotten progressively more interesting. I still like it, but maybe next year I will redo the tomato marker to have more character.
Reclaimed Material: wood scrap
Other Material: none
Tools: paint, paint brushes
What I would do differently: Now that I have gotten around to doing this post, I have done 4 other markers and each one has gotten progressively more interesting. I still like it, but maybe next year I will redo the tomato marker to have more character.
Sunday, April 29, 2012
04/21/2012 - Newspaper Plant Pots
Although
I am a very novice gardener, I seen people using these little newspaper
planting pots for a very long time. Some recyclers are starting to
accept the plastic planter pots for recycling, but they are a hard to
recycle item. These are great because they are biodegradable and much
cheaper. You can buy newspaper pot makers but being the cheapskate that I am, I just used an aluminum can.
Reclaimed Material: newspaper pages
Other Material: none, unless I count the dirt and seeds
Tools: aluminum can
How I did it: I tore newspaper pages in half along the fold, then folded the page in thirds on the longest side to make a strip about 6" wide. I wrapped it around the aluminum can so that there was about 2" hanging off the bottom of the can then folded the overhang under to make the bottom of the paper pot. I set the pot on a flat surface and filled it with potting soil, then put it in a box with the seam facing a box side. I continued this with placing the seams against another pot or the box.
What I would do differently: After I made these, I read about someone who wet the pots before filling them to make the seam stick. That sounds like a smart idea, but the way I did seems to be working so far.
04/20/2012 - Bike Ring Pendant
Reclaimed Material: bicycle cassette lock ring, game marble
Other Material: resin
Tools: electrical tape, mixing cups
How I did it: I taped the electrical tape to the back of the ring to trap the resin. I mixed the resin and poured it into the ring. I gently set the game marble into the resin then let it set.
What I would do differently: There were a couple mistakes in this little project. I had filled the ring with resin to the brim so it would have that nice rounded look to it. It looked beautiful until I placed the marble in it and I had a big "duh" moment when the resin spilled over the edge. The electrical tape left a sticky residue on the back of the resin, so I need to figure out another way to trap the resin in the ring. Ideally I would like to fill the rings with glass, but don't have the skill level to try that yet.
04/19/2012 - Bike Firefly
Reclaimed Material: bicycle chain links and spoke
Other Material: none
Tools: metal clippers, vise, hammer, epoxy
How I did it: I put two chain links halfway into the vise and used the hammer to bend them in half -- at about a 45° angle. I then cut the spoke to 1.5" long using the notched end of the spoke that was in the center of the bicycle wheel. I used the epoxy to adhere the chain links to the spoke for the wings of the firefly to the spoke.
What I would do differently: I would much rather avoid using the epoxy, but again, I don't have any welding skills or equipment. Also, I should have added a little bead for the tail of the firefly.
4/18/2012 - Woven Rubber Handbag
Reclaimed Material: rubber inner tubes
Other Material: decorative brads
Tools: scissors, cereal box, X-acto knife
How I did it: I cut six strips of rubber 24" long and about 1.25" wide for the horizontal pieces, five strips about 20" long (same width) for the vertical, and one long piece 2" wide for the sides and the base. I took one whole tube and carefully cut the valve stem off. For the horizontal pieces, I cut slits on one end and tabs on the other to make loops, then closed them around the cereal box. I used the fatty strip of rubber and wove it along the short sides of the cereal box for the base and sides of the bag. I folded the whole inner tube in half and wove the sides through each side of the cereal box and made sure the handles were even. I wove vertical strips through to the top working around the handles. To hold the handles in place, I inserted six small brads into each square along the handles.
What I would do differently: As you can see by the pictures, this bag isn't complete. I tried many variations of this and my original thought was to use whole inner tubes by twisting them to size for the horizontal pieces and whole tubes cut to size for the vertical pieces. That didn't work, so I sliced open the vertical pieces...still not quite right, so I took the whole thing apart and did what I explained above. I wasn't loving the way it was turning out with the brads, so I gave up on this...plus I didn't want to invest even more time into a piece I didn't really love. My mother-in-law liked it though so I should probably revisit this another time. I would like to add a fabric liner to it and maybe some sort of closure.
Friday, April 27, 2012
04/17/2012 - Tiny Rubber Sign
I found a nice little stash of tiny wooden frames at SCRAP and thought it would be fun to make mini-rubber pictures. The frames are all about 3"x3" or x4". I think they would make fun magnets.
Reclaimed Material: rubber inner tube, frame
Other Material: none
Tools: scissors, staple gun, paint pen
How I did it: I cut a piece of rubber from a fat inner tube that covered the entire 3"x3" frame with overlap. I stretched the rubber over the frame and stapled it to the wood. I used the paint pen to paint the bicycle sign onto the rubber.
What I would do differently: This project did not go smoothly at all! It should have taken me about 10 minutes to do this instead of an hour. The regular staple gun wouldn't push the staples all the way into the frame and then some parts of the frame got splintered. I switched to an electric staple gun and really did not have any better luck. For these little guys I think I need to use flat push pins.
Subscribe to:
Posts (Atom)