Tuesday, July 31, 2012

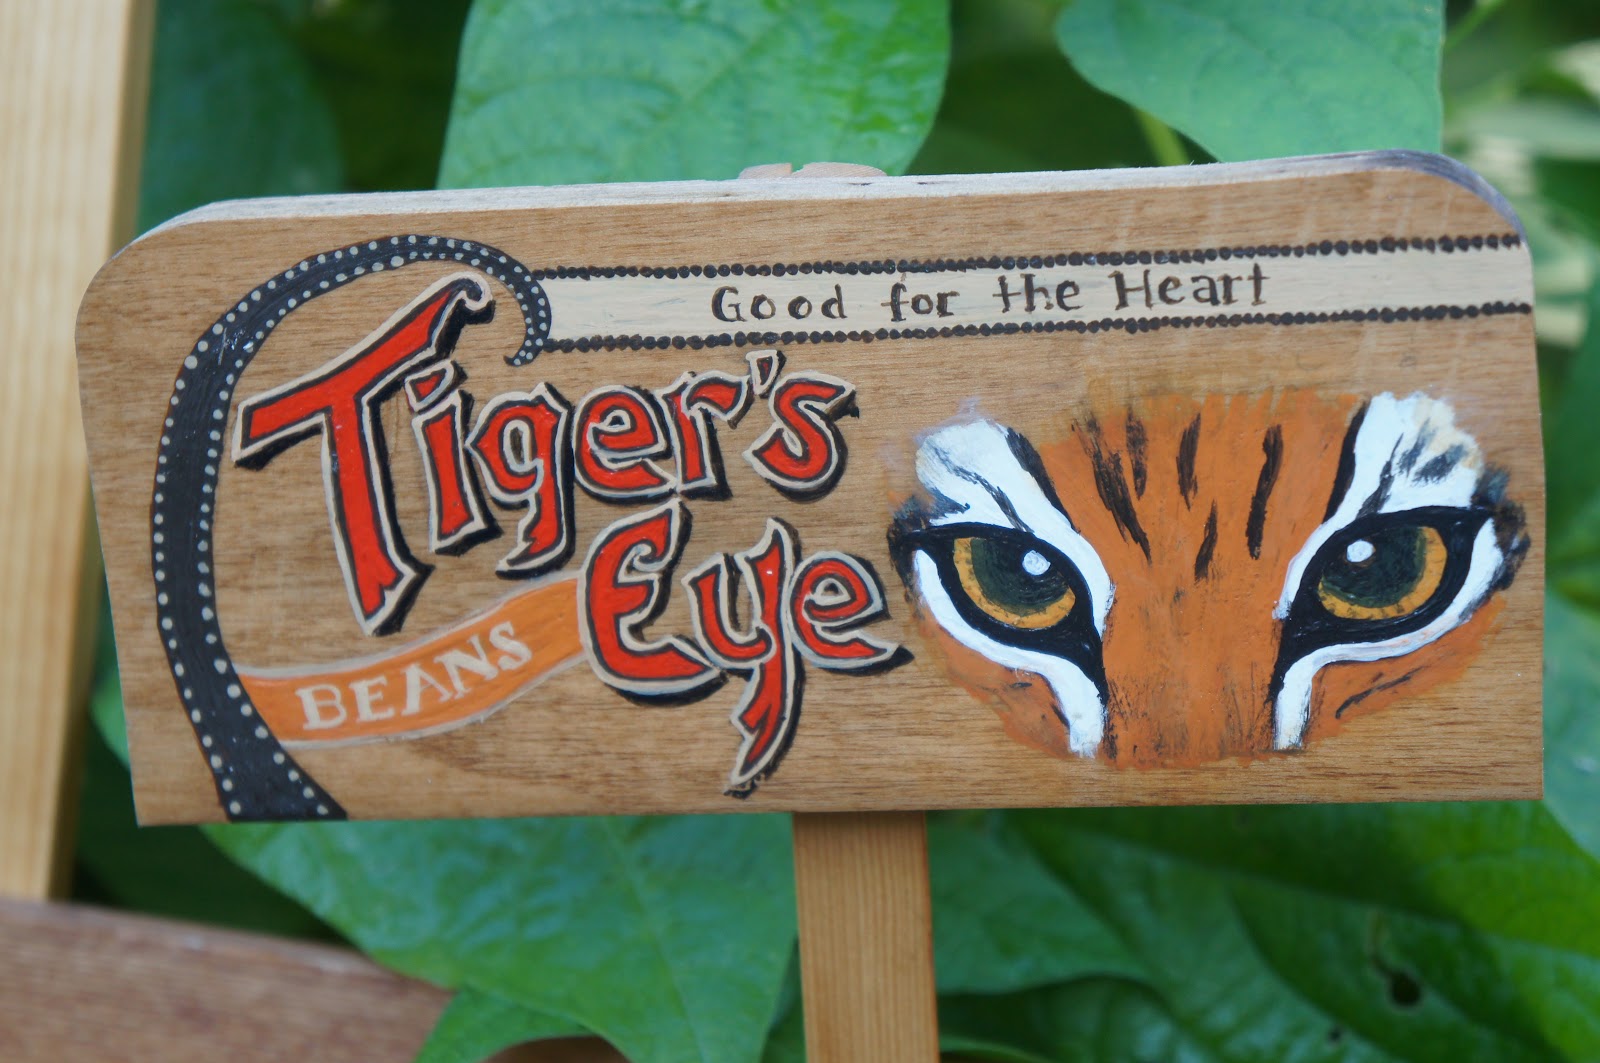
06/05, 06, 11, 14/2012 - "Tiger's Eye Beans" Plant Marker

I have said this about most of the plant marker, but this one really is my favorite! I got some seeds for these beans from one of my wonderful SCRAP volunteer friends.

Reclaimed Material: flooring/wood scraps
Other Material: none
Tools: paint and paintbrushes, screws, drill, polyurethane, wood glue


Random thoughts about this project: Since the markers are for the garden, I sprayed the heck out of them with polyurethane coating to protect them from the elements, watering, etc. I need to do my research about the polyurethane coating, but I didn't coat the bottom half of the stick, so I don't think there should be any worries of it leaching into the soil. That is just my uneducated guess though.


06/01-06/04/2012


06/01/2012 - Rubber Rose

This rose was fashioned using a long strip of rubber inner tube I sliced opened and wrapped around half of a bike spoke. I wrapped it multiple times before settling on a lame attempt at a rubber rose. I redid before taking the picture and it could not have been more perfect! I should know better by now, but 3 year old + perfect creation = disaster. Especially when trying to take a bunch of pictures. This is a so-so substitute and my perfect rubber rose will have to live on in my memory.


06/02/2012 - Patriotic Earrings
I am trying to come up with various ways to use old game pieces and was pleasantly surprised at how easy it is it drill holes in the plastic. The red balls are leftover from decorations on a Christmas present I had received. I am tempted to draw little clown faces on them because they look like little heads with hats on them.


06/03/2012 - ?????
I think I hear the voices of all of my high school teachers and my mother right now. Telling me that I should have written my project down right away. I haven't missed a day of experimental crafting, but I am annoyed I don't remember and can't find what I worked on. Here is a picture of my cute little one promising not to mess up this flower.


06/04/2012 - Plastic Ring Twirls
I desperately want to come up with an awesome craft for bottle rings. My intent was to twist these and make earrings. I twisted them by hand, wrapped them around pencils, lightly held a lighter under them to melt the metal, coiled them around a pencil and taped them, but still could not get them to match or to twirl the same way.

05/31/2012 - Mustache Magnets!

This project needed its own post because it cracks me up!

Reclaimed Material: rubber inner tube, magnet scraps
Other Material: none
Tools: glue, scissors


I just free hand cut the rubber and glued it onto the magnet scraps that I had. I kind of lucked out that some of Zoe's pictures worked perfectly with them.


Random thoughts about this project: I was thinking this could be easily made using those promotional magnets that companies give out and you don't know what to do with. Just free hand cut the mustaches (or you can probably find a template online) out of the magnets and color them black with a Sharpie or glue paper onto it. Other ideas...glasses, eyebrows, hats.


05/22-05/30/2012

One month down, two to go!


05/22/2012 - Rubber/Tab Bracelet
I had a hankering to make a pop tab bracelet, maybe because I was fixing up my Pop Tab Dress for a project. I have used ribbon in the past to make these, but there is no give and the bracelets had to be made too loose to fit over the wrist. To solve this issue, I cut thin strips of inner tubes to weave through the tabs. The problem this can only be done in black. At least the bead colors can be changed.


  05/23/2012 - DIY Coupon Book
I bought one of the SCRAP kits at the Destination DIY Makin' It Party to make a coupon book. This is a pretty ingenious idea. Use old envelopes, stickers and cardboard to put it together. I have heard of people who use old envelopes to put their coupons in and write their shopping list on the envelope. I did get carried away with chatting and enjoying a couple beers, so I didn't finish decorating the front, but it is perfectly functional.


05/24/2012 - Cork Bracelet or Wine Bottle Decor?
I have to admit I kind of mailed it in on this one. I was so pooped when it was time for bed, I had almost forgotten to do my craft. I took the wire handle from Chinese food boxes and pushed it through a cork. It didn't turn out as nice I imagined it would. This project did lull me into a false sense of brilliance though. Despite my tired state, I started thinking of ways I could make this work as wine charms by cutting the cork into disks, decorating then wiring it. A few days later I saw my exact thought on Pinterest. There are so many cool reuse ideas out there, they just need to be found or tried out. 


05/25/2012 - Tubing Weave
I really though using a plastic look would help me make something with this obstinate rubber tubing, but, alas, this is all I came up with. Even though it doesn't look like it, I spend a lot of time trying to make this work, grrrrr!


05/26/2012 - Guitar Stir Stick Earrings
I really to love when people give me their fancy garbage! Grandma BJ brought me some Hard Rock Cafe stir sticks home after a trip she went on. She is so cute...I think she may have ordered an extra Arnold Palmer to bring enough home for me to use. I cut off the stick parts and drilled holes in the guitars. The black beads are from a broken necklace I bought at SCRAP. They are really fun, but not my style, so they will have to make their way onto Etsy.


 05/27/2012 - Game Night Coasters
I love the pictures from old games. The dad is dressed in a suit playing a board game with the family. I took rusty mason jar rings and SCRAP tiles (they were originally for another project) and cut the family pictures to fit into the rings. I used E600 to glue the rings to the tiles and mod podged the pictures.

 
05/28/2012 - Guitar Stir Stick Choker
With one remaining stir stick, I made a pendant, but I only had a short piece of the broken necklace left from making the earrings. I turned it into a choker with the clasp in the front. I took a ring from another bit of broken jewelry to hook the end to.


05/29/2012 - Flower Coin Purse
I thought I had taken a picture of a cute little coin purse I made as a gift, but cannot find it anywhere. Please take my word on it! I cut and stitched rubber inner tube into the size of a coin purse, then added a zipper. I cut a flower from a tube and used a decorative eyelet to attach it.


05/30/2012 - Rubber Tubing Ring
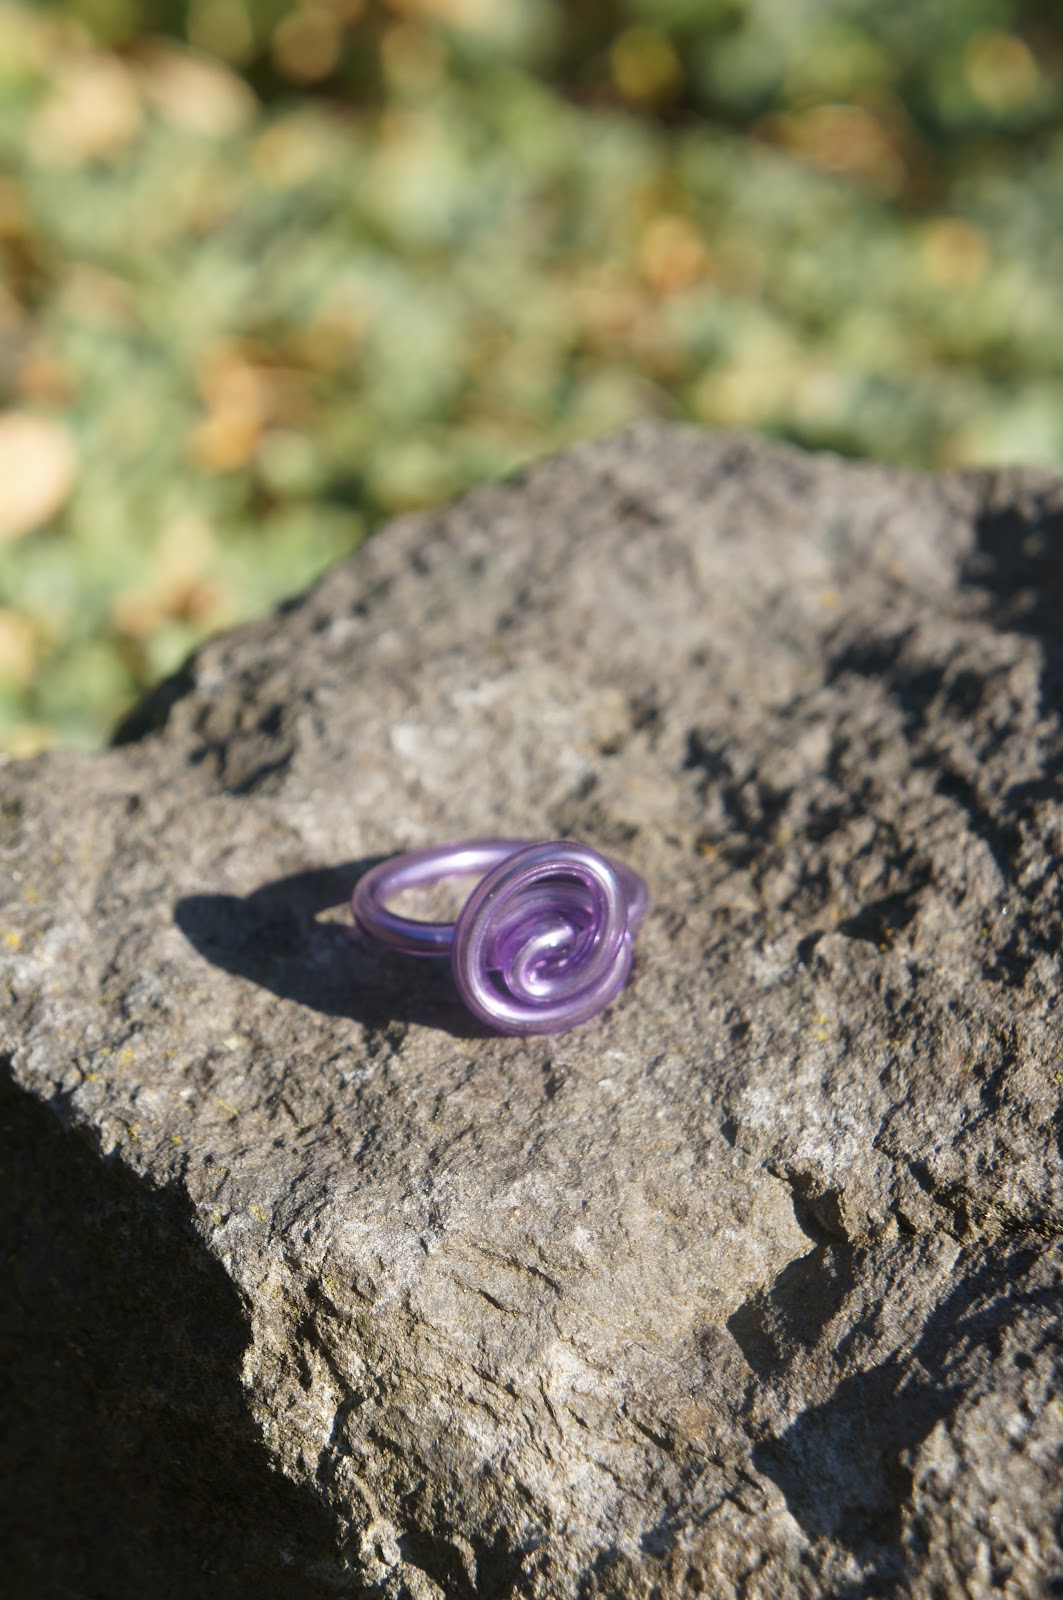
Success! I finally did a project with the rubber tubing that didn't drive me to the edge of crafting madness! I pushed a piece of a take out food handle through the tubing and twisted it into a ring. It reminded me of the toy wire.

Monday, July 30, 2012

More catching up! 05/09-05/21/2012

I keep getting asked if I am still doing my blog. I should call myself a sporadic blogger but a habitual crafter. I am still on track with my resolution! (I am typing and patting myself on the back right now.) I think I have managed to find all of my crafts, but still need pictures of a few that the wee one hasn't borrowed yet.


05/09, 05/10/2012 - "Carrots" Plant Marker
 I had no idea that freshly picked carrots were so delicious. Since painting this marker, which is supposed to look like Zoe in an old fashioned outfit - but really doesn't, we have had a wonderful bounty of carrots.


05/11, 05/13, 05/14, 05/15/2012 - Rubber Tubing Basket 
I don't know what to say about this hot mess. This pile of colorful tubing has become my nemesis. I bought a bunch of it from SCRAP because, like most crafters, I am attracted to pretty colors. As soon as I would get it to start to look like a basket it would fall apart, even with tape. I need to fashion some sort of basket loom. 


05/12/2012 - Speaker Storage Unit
This is a work in progress craft that my sister-in-law, Heather, and I worked on. We removed the guts and painted the wood. We experimented with different ways to cover the screens with bike tubes, but haven't come up with a fabulous solution yet. I didn't get a picture of the progress before they got put away in the garage. This should be revisited soon. I am excited to see what I can come up with from the heavy duty magnets from the speaker parts. 


05/16/2012 - Rubber Tubing Round Braid
I got tired of fighting with this tubing to make it into a basket so I used it to make a round braid. My intention was to make it into some sort of necklace, but it looks like balloon art. I guess a kid might enjoy it. 


05/17/2012 - Incognito Glasses
I made these at SCRAP's party for the book Criminal Crafts. It was a blast...ha haa haa, get it, blast, criminal, oh never mind. Miss Demeanor is a fabulous crafter and the book is hilarious...I highly recommend it. Prior to this picture, the glasses were decorated with feathers and had straws to hold them up, but Zoe couldn't help herself when she saw the colorful feathers and had to have them. At least the gnome is incognito.


05/18, 05/19/2012 - Grandma BJ's Cake 
Finally! I got a chance to use the air brush I got for Christmas! The cakes didn't turn out exactly how I envisioned them, but I don't think they were too shabby. I wanted them to look like antique tin boxes. They were tasty and I had fun trying out my new toy, that is mostly what matters.


05/20, 05/21/2012 - "Broccoli" Plant Marker 
I only had two broccoli seeds make it, but I waited to long and they went to flower when we went on a camping trip. Boo! Grrr! I am going to try one more planting and see if I can get a fall harvest. I was stumped with making a sign for broccoli, yawn, so I did actually go off a broccoli ad I saw online.


Friday, June 29, 2012

Catching up! (slowly but surely) 4/28-5/8/2012

I have well over 50 days to post, so being the busy bee that I am, let's just catch up with a few of the things I have done and have done pictures for...starting with April 28th. Geez, how is it almost July?


04/28/2012 - Rolled Rubber Bracelet
I made this bracelet while sitting a hotel room in Everett, WA. I had grand plans of using bits from my SCRAP "To Go" kit that I won, but just didn't have the tools to make anything work. I just took a bit of inner tube I had with me and cut slits in it, then made a notched tab to close it and made this rolled bracelet. It reminds me of curlers for some reason. I am using the picture of me wearing it because the background of the picture looks like a high school senior picture and this amuses me.


04/29, 4/30, 5/1/2012 - "Strawberry" Plant Marker
I think this is my favorite of all the plant markers I have made. I had to 'pat myself on the back for my mad strawberry painting skills. Like the other markers, I used scrap wood from the wood pile and painted the signs. Now if I can only get the crows to stop eating the few that we have.


5/2, 5/3/2012 - "Corn" Plant Marker
I hope you don't think I am corny...but it took me three days to make this. I know, can't help myself sometimes. I blame a cute old school teacher who was always full of puns...I can't remember them very well, but something along the lines of city water being sick but because he lived in the country he had "well" water.


5/4/2012 - SCRAPPY Skirt
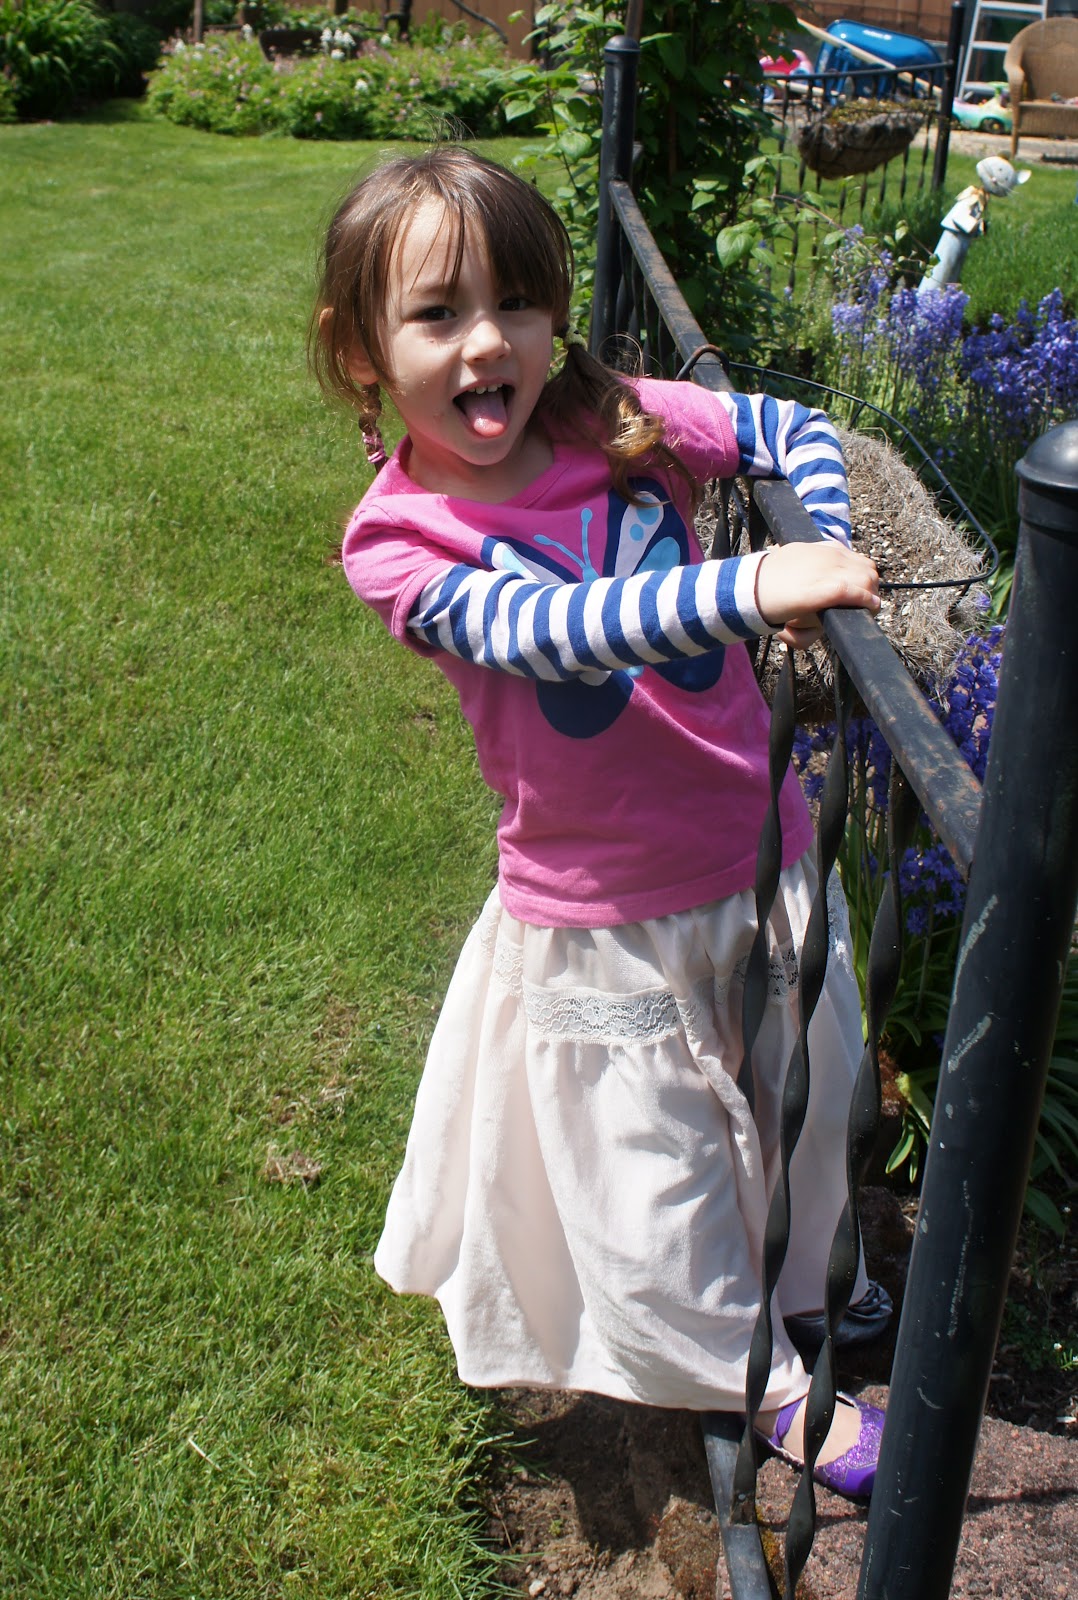
I took Zoe with me to a SCRAP fabric pricing party and she made friends with all the ladies. There was some clothing that was in with the fabric and put in the Goodwill pile, but Zoe sweet talked some of her new friends into helping her dress-up, one of her favorite past times. One of the skirts was rolled and rubberbanded onto her and she insisted on wearing it even when we stopped for ice cream on the ride home. I cut it down to to fit her (it was an adult woman's slip or something like that) and added an elastic band. It was well worth the quick fix to make it fit her to see her so happy to have it in dress up collection.


5/5/2012 - Toy Wire Ring
I am always on the prowl for this plastic coated wire from kids' toys, and my nephew's first birthday was no exception. Despite having a couple margaritas I was able to twist and tuck the wire into a little ring. I think it turned out surprisingly cute. This could be a fun craft for a group of little girls.


5/6/2012 - "Cucumbers" Plant Marker
It seems like most artists have a specific statement they are making in their work or have something they represent. This was the only plant marker that I made that felt deliberate. The lettering is kind of a currency font, but the Cs have curls on them like cucumber vines. The dotted lines on top and the bottom are supposed to be little cucumber seeds. This in turn kept making me think about the book "Little Women" when Jo and her sisters traded the pickle seeds, or something like that. I should probably re-read that book.


5/7, 5/8/2012 - Family Tree
This was a project for the mom of one of my dearest friends. I had made a tree like this before from woven inner tube, an old frame, bike chain links and spacers, but just used red beads and called it an apple tree. Since there are five kids in my friend's family, I thought it would be clever (I have my moments) to use beads that were the colors of each kid's birthstone.


Now I need to get to work catching up on pictures of the rest of my projects.

Holy Moly! Where have I been?

I am still going strong with working on a daily upcycled craft, just pretty weak sauce (as the kids say lol) on the posting. Had a nasty computer crash in May and I am still sad about that, but picking up the pieces of the devastation. I need to just post one big list of what I have been working on.

In the mean time, check out an Instructable I made a few days ago for a rubber headband. I am also working on an official restartsomethinggood website to follow sometime soon. Stay crafty, San Diego.

Wednesday, May 2, 2012

04/26-27/2012 - "Bush Beans" Plant Marker

I got news on this day (and I am just now blogging about it almost a week later) that I was being hired for a part-time retail position at one of my favorite Portland places, SCRAP! I start tomorrow, May 3rd, and have to admit I am extremely excited because I love garbage and I love their waste reduction and education mission. 
 
Reclaimed Material: wood scrap
Other Material: none
Tools: paint, paint brushes, pencil 

How I did it: This was one of the first designs I sketched out in my lil' notebook, and probably one of my favorites. I sketched out the drawing on the wood and painted it.

What I would do differently: The only thing I don't really like about this one are the corner decorations. This picture was taken the next morning, so I really wasn't this far along on the 26th.

04/25/2012 - "Pepper" Plant Marker

This was a very fun crafty day for me! I went to the Destination DIY "Makin' It" Party, got interviewed on the Portland KGW8 News and won a Destination DIY t-shirt, and a SCRAP "To Go Kit"...not to mention free beer and pizza. I worked on this plant marker during the day and cut up rubber strips and chatted away at the party.

Reclaimed Material: wood scrap
Other Material: paper
Tools: paint, paint brushes, pencil, printer, scissors

How I did it: I sketched and painted the lettering on this marker before I added the picture. My drawings and paintings of people are cartoonish at best, so I used a real photo of Jason to turn him into a turn-o-the century "doctor" selling his miracle product. I printed his picture in a sepia tone and painted a hat, mustache and suit on him. I cut it out and used a glue stick to adhere the photo to the wood and painted a border.

What I would do differently: During my volunteer time at SCRAP I have met some awesome crafty artists who have given me some great tips and info. I learned from a fabulous artist, Erica, that oil paint takes at least 2 weeks to dry. Yes, I used oil paint because I had a lot of colors and didn't want to go out and buy more paint. The plan is to varnish these signs so they can live outside, but it will be a while yet.

04/24/2012 - "Cabbage" Plant Marker

This wood scrap is from a finished piece of flooring and the finish and wood color seemed to go with red and black. I am beginning to regret this decision though.
Reclaimed Material: wood scrap
Other Material: none
Tools: paint, paint brushes, pencil, Uni-ball pen 

How I did it: This wood cleaned up easily because of the finish, so that was a breeze. I sketched on my lettering, then used the pen to fill in the lettering. I used red paint to make a box and paint the sides of the wood scrap, then finished off the lettering and box with the pen. 

What I would do differently: The Uni-ball ink flowed so nicely and worked great with the lettering...but it just will not dry! grrrrr. I have pencil marks underneath that I can't clean up because the ink won't dry and keep smudging. I am most likely going to redo this and maybe make a picture of a cabbage patch with different Zoe faces in each cabbage. I do love the lettering style though.