Showing posts with label game. Show all posts

Tuesday, April 17, 2012

04/16/2012 - Zoe's Cuckoo Clock

I went into Zoe's room after her rest and she tells me that I have to help her make a cuckoo clock...how could I say no to that? What was going on in that little head of hers when she should have been napping?

Reclaimed Material: game board, plastic lid, splash sticks, wooden stick, rubber band
Other Material: modeling clay, masking tape, straight pin, googly eyes
Tools: scissors, box cutter, glue, awl, X-acto knife, Sharpie marker, ruler, paint and brushes

How I did it: Since I started this project right when the 3 year old was ready to rock and roll and asking me every 5 seconds if it was time for her to paint yet, I had to distract her with random tasks like pre-clay modeling and painting on wood scraps until I put the house pieces together. I measured out two 5"x5" squares and three 5"x2" rectangles from the game board and used the box knife to cut them out. I used the masking tape to build an open top box with the three rectangles as the sides and let Zoe work her painting magic. While she worked on that I started on the roof of the house. I cut another 5"x5" square then cut it in half diagonally. I cut two 5.25"x2" rectangles for the top of the roof and one 7"x2" rectangle for the base. I cut the door for the cuckoo with the X-acto on one of the triangles, then made a slit on the other that lined up with the door. Next I taped the roof together and handed it off to Zoe to paint. I modeled a little bird (again using Zoe's paint, but with her blessing this time) and glued it onto the wooden stick.

The plastic lid that I used happened to have twelve notches around it, so I didn't have to measure it out. I used the Sharpie to mark the notches and make the numbers. I cut down the splash sticks for the clock hands then used the awl to start the holes for the pin to go through. I didn't punch it all the way through because the hole would have been too big. I poked the pin through the holes I started and through the clock face and glued the whole thing onto the game board box. I pushed the pin all the way through and bent the pin so it wouldn't stick Zoe when she stuck her hand in the box. The rubber band I used was just a circle I cut from an inner tube and I put it around the door that was cut out. I slid the stick under the rubber band and pulled it out the back through the slit I made and Zoe began "cuckoo-ing" it.

What I would do differently: This is obviously not a working clock...but it is a great teaching tool. It is amazing what kids pick up because Zoe immediately called the clock hands the "little hand" and the "big hand". After we finished this project Zoe decided we needed to make a cuckoo horse next. What I would do differently is figure out a sturdier cuckoo option.

Sunday, April 1, 2012

03/19/2012 - Game Piece Hourglass

I was still in basket making mode, but needed a diversion, so I used up some game pieces. I need to take a moment to discuss how much I love paint pens, especially the metallic ones. They make my crafting life much easier. I love you paint pens, you are so wonderful. 

Reclaimed Material: checker pieces, splash sticks, game timer
Other/New Material: none
Tools: clippers, gold paint pen, hot glue gun

How I did it: I took the left over sticks from the splash stick earrings and cut down two more a little taller than the height of the timer (the ends fit into a crevice in the checker pieces). I painted the sticks and the checker pieces with the gold pen and let them dry. I put a dab of hot glue in the center of one the checker pieces and set the time on it. Since I didn't want the hot glue to show, I put some of the glue on a scrap of cardboard and dipped one end of each stick in the glue and tucked it into the crevice on the checker. Once all four pieces were glued things got a little tricky. I let the glue set, then dipped the other ends of the stick in the glue and put the other checker on top of them. I had to work quickly so the hot glue wouldn't dry.

What I would do differently: There is nothing to change, and I probably won't get a chance to repeat this project unless I come across another discarded game timer, if I do I need to start playing the lottery.

Friday, March 30, 2012

03/11/2012 - Game Board Storage Box

I was lucky enough to inherit a bunch of old games with missing pieces...most of which I had never heard of like "Little Genius Club".

Reclaimed Material: game board
Other/New Material: none
Tools: box cutter, ruler, black electrical tape

How I did it: I sliced the game board in half along the fold with the box cutter. I measured one half of the board and divided it into 3 parts with the center being cut larger than the two ends, which were cut equally. I cut the other half of the game board the same way. I taped the two large center pieces and two of the smaller ends together like a box. I then took one of the short end pieces and taped it to the bottom of the box I created. For the lid, I taped one side of the remaining short end for the lid. I used the tape to edge the lid.

What I would do differently: I would like to find some type of book binding tape, or I guess brown packing tape would work too. This is not completely done because I am going to cover the black tape. I saw instruction for making masking tape look like leather by rubbing it with brown shoe polish, which I would like to do because I think it would match this old game board. I also need to find a game piece that will match as a little handle for this.

Thursday, January 19, 2012

01/18/2012 - Tic Tac Toe Game

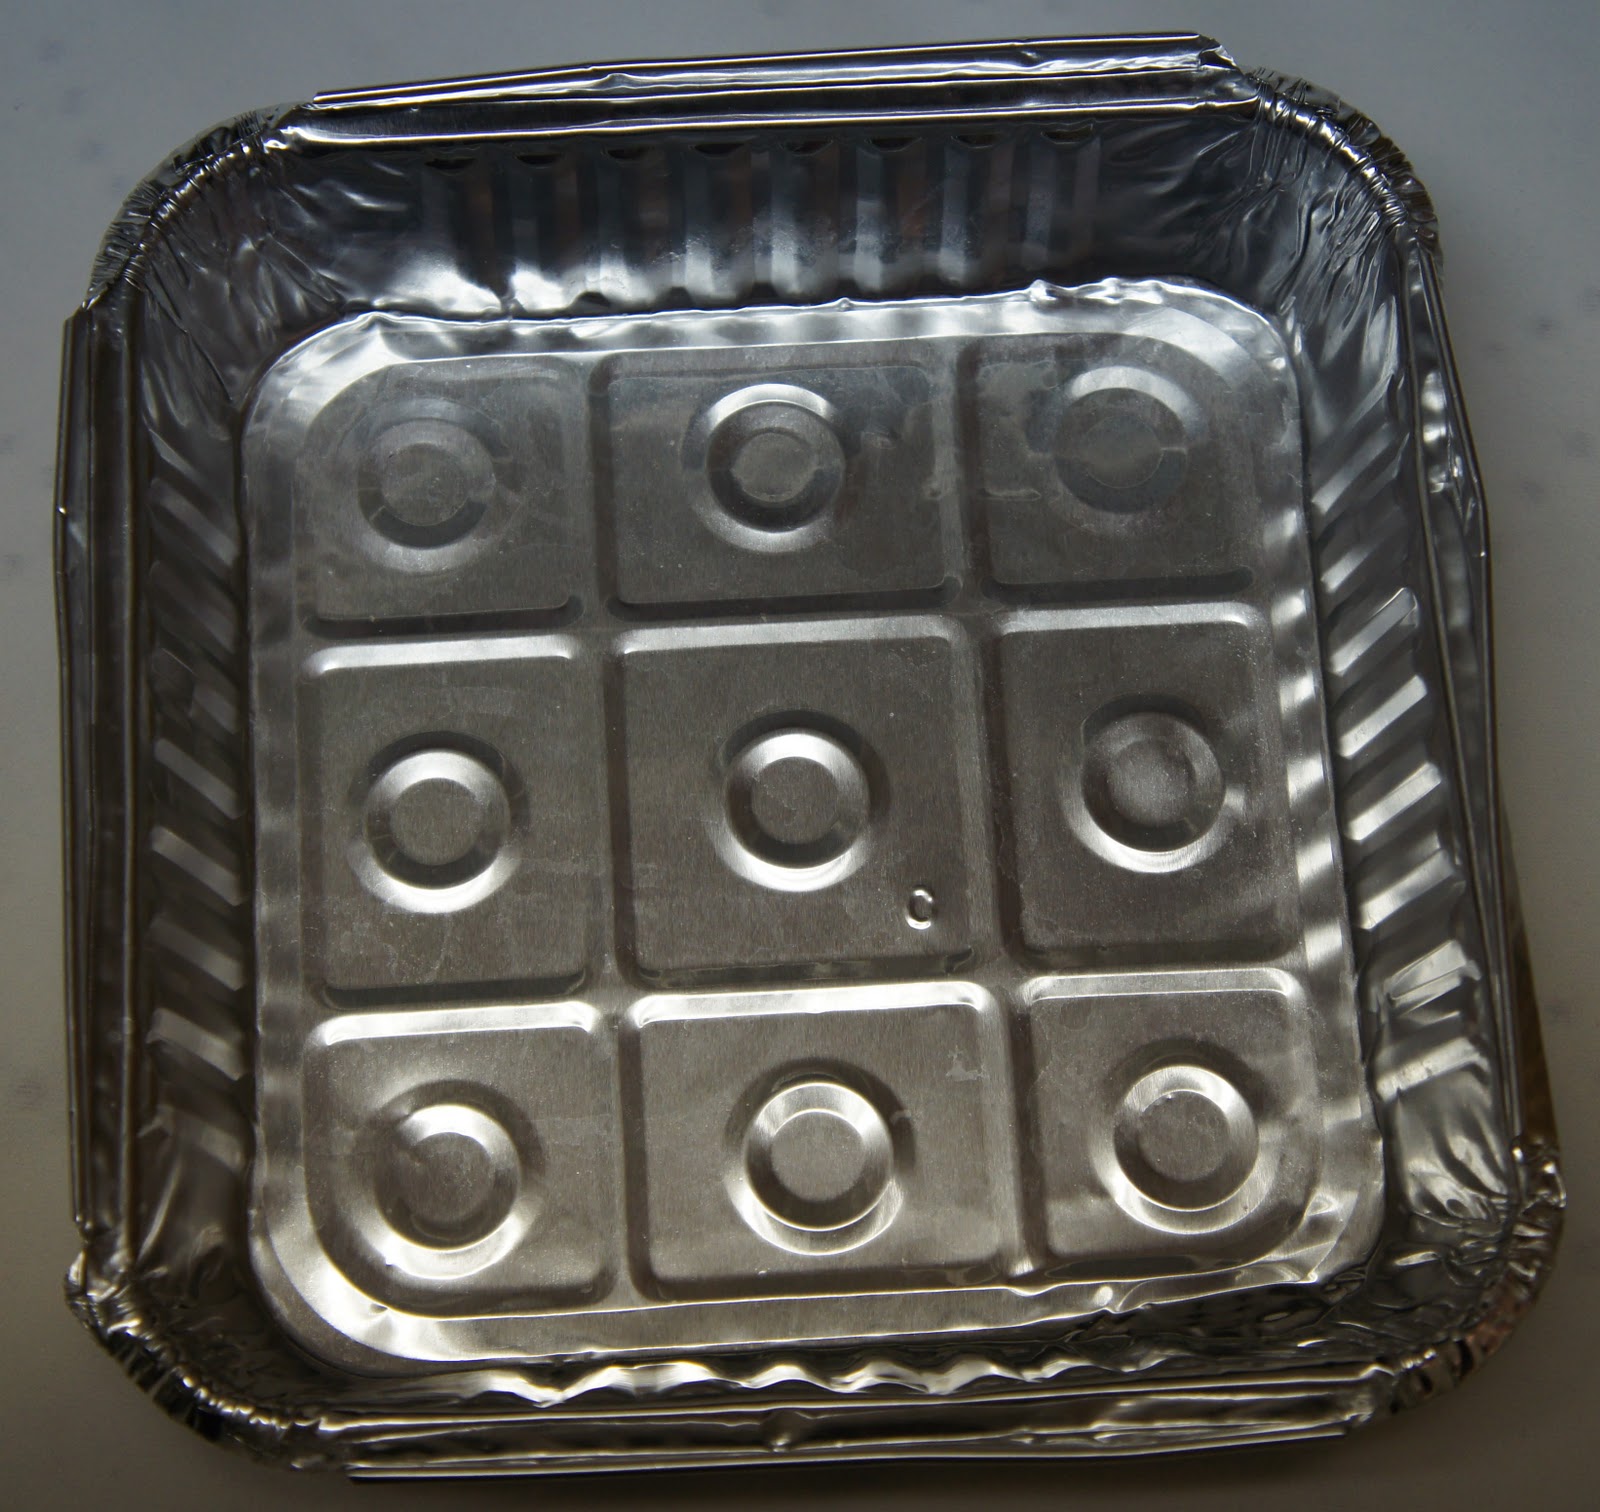
Sometimes things "speak to me" and this aluminum tray from a package of frozen bread seemed to be screaming to me "I want to be a tic tac toe game! I want to be a tic tac toe game!" This was fun to make and is on the refrigerator now for my family to enjoy.

Recycled Material: aluminum tray, game pieces
Other Material: round magnets, magnet sheet 
Tools: hot glue gun, multi-purpose glue


How I did it: I had some printable magnet sheets left over from a project from a few years ago and cut one of the sheets down to fit the back of this tray. I used the multi-purpose glue to affix the magnet sheet to the back of the aluminum. (Hot glue and aluminum do not play well together.) I used 10 checkers pieces (5 of each color) and hot glued a round magnet to the back of each of the game pieces. I let the magnets cool/dry and stuck it on the fridge.

What I would do differently: I have a stash of random game pieces so I used the checkers pieces, but this would be just as fun using bottle caps, milk tops or other plastic caps. I left the edge on the aluminum for easy storage for the pieces when it was taken off the fridge since the back magnet was too weak to hold the checker magnets.

01/16/2012 - Game Card/Toy Wire Notebook

This is a very simplistic project, but was fun to do. The game cards are from an old Magic Trolls game I intercepted from the garbage. The paper I just pulled out of our recycling bin and I found another use for the toy wire - hooray me!

Recycled Material: game cards, paper, toy wire
Other Material: none 
Tools: paper cutter, small hole punch, round pencil, long nosed pliers  

How I did it: I trimmed about 25 rectangles to the size of the game card using the paper cutter. If you don't have one, this can be done by hand with scissors or sneak into a FedEx Kinko's to use their fancy paper cutters. I made sure the printed side of the paper was facing down and used 2 cards, one for the front and for the back. I took a shorter piece of the toy wire (about 7" long) and wrapped it tightly around the round pencil to make the coil and ended up with 7 loops. I stretched the coil as evenly as possible to the length of the top of the cards and paper then evenly marked the placement for the holes on the back of the front cover and punched 7 holes. I used the cover as a guide, then took about 5 sheets of the paper and made them flush with the card and punched the holes in the paper. I continued this until all the sheets and the back cover were punched and put the covers and paper together. I started twisting the coil in by inserting one end into the first hole and started twisting the coil, guiding the end of the coil into each hole until I reached the end. I used the pliers to bend both ends inward about 1/4".

What I would do differently: I thought this was a cute little project that kids could do easily. They could use yarn or ribbon to tie it together, but this wire seems o.k. for kids to use since it is coated in plastic...unless you cut it, then it will have sharp edges and need to be filed down. Another idea would be to reuse the coil from a used notebook.