 07/01/2012 -Rubber Band Headband
July 1st was a busy day for me. I worked all day then rushed home to get ready for my hubby to take me out for my wonderful birthday dinner. I didn't think I would want to work on anything after my hot date, so I did this project in the car ride to the restaurant. I cut 1/4" segments along the width of the tube. (If you are in a pinch and need rubber bands and have an inner tube, just cut the size you want by cutting through the width of the tube.) Then started pulling one band through the other to connect them together. I don't know how to describe the process, but when I got to the end I had to use a long strip to tie the ends together.

This is an offshoot from my 12 basket project for my sister-in-law. I love this giant size (2'x3') but the frame was too weak to support the rubber. This will be revisited with a stronger frame. Well, revisited four times since four baskets are needed.

07/07/2012 - Zoe's Lacey Skirt
This is another adult sized skirt that was stuck in with fabric at a fabric pricing party at SCRAP a few months prior. Zoe, of course, looks adorable wearing it. It reminds me of a girly steampunk skirt and I want to make a matching fitted vest and little top hat to go with it.

Wrist cuffs seem to be my "go to" craft. I think it was the first of my daily crafts. I made a practice cuff to lead a craft for Destination DIY's "Makin' It" Event on July 18th.
 07/09-12/2012 - Camping Roll Slings
We have those wonderful self-inflating bed roll mattress thingies. The problem is containing them when not in use. I created a yoga mat-type sling to carry them and keep them together, out of, yes, you guessed it, rubber inner tubes. There are some kinks to be worked out, but I was happy with how they turned out. I got them done in time for out family camping trip.
 07/13/2012 -Beer Can Lantern
Considering I freehand cut this lantern with a camping knife it didn't turn out too shabby. The ribbon I hung it from didn't seem like a good idea to combine with a citronella candle though.
07/14/2012 - Glow Bottle
I had read on Pinterest comment that you could make a glow bottle by opening a glow stick and pouring it in a water bottle filled with water. WRONG! I emptied about 6 glow sticks into a half filled water bottle before I finally gave up. All I could think of was those funny "nailed it" memes when people try to copy things from Pinterest. No photo of the lameness, but my sister-in-law did a hilarious thing where she taped glow sticks to herself to look like a stick figure lady. When it got really dark we walked around the campground cracking people up.
 07/15/2012 - Rubber Wrist Cuffs
I was pretty pooped after getting home from our trip and made a simple rubber cuff to use as a sample for the Makin' It DIY event.
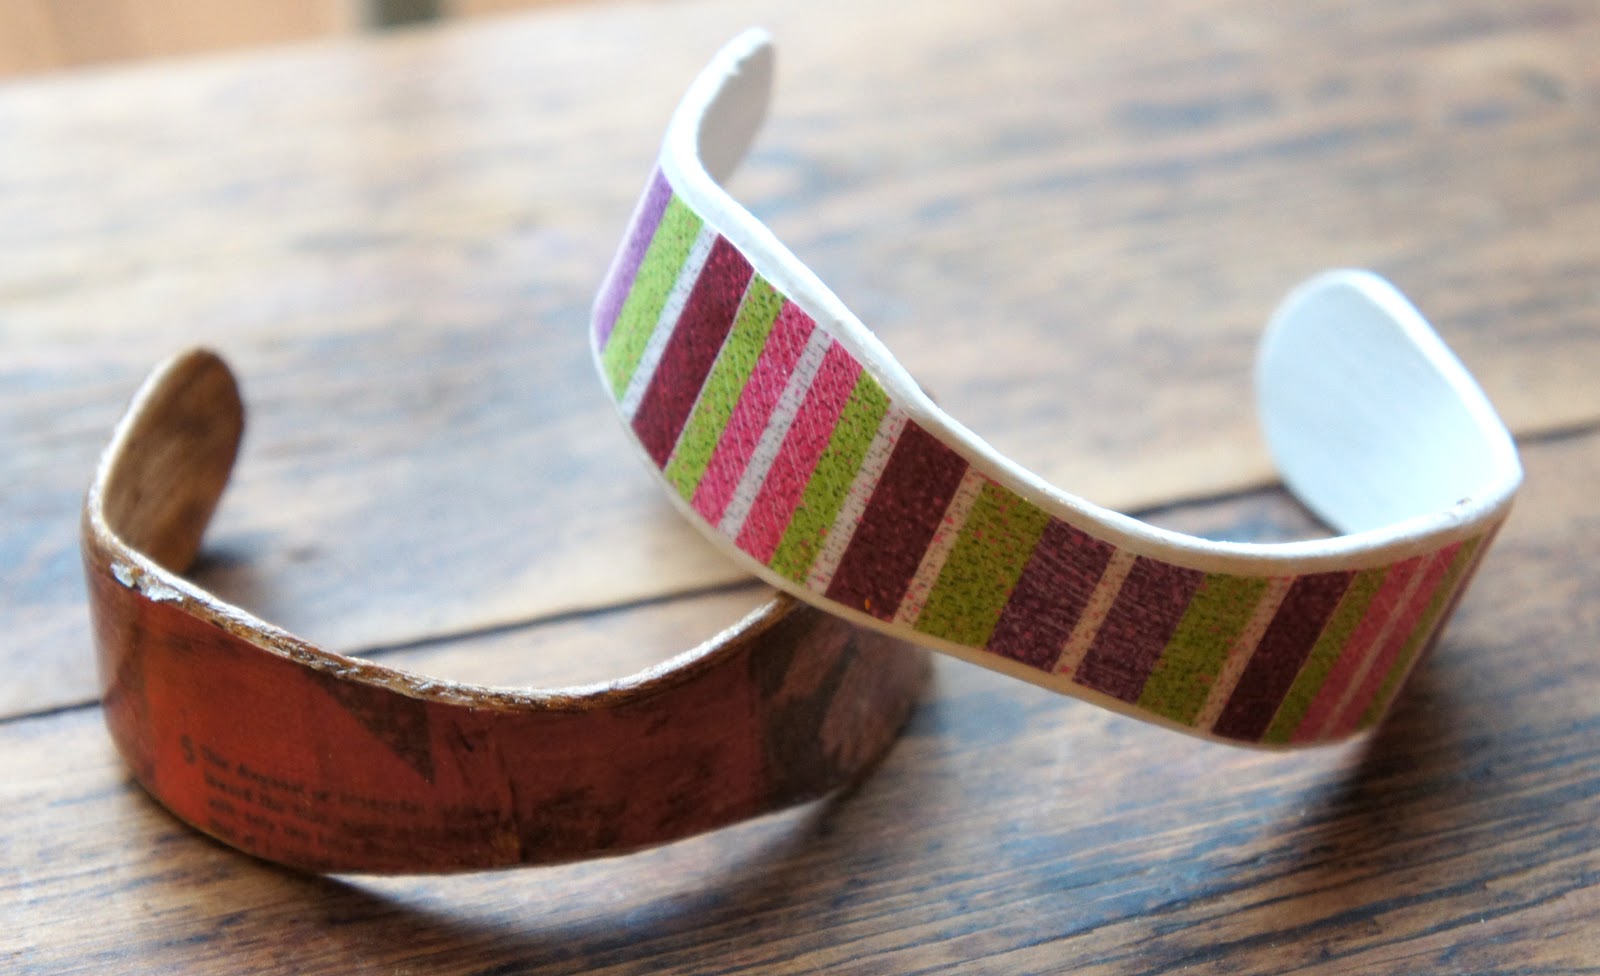 07/16/2012 - Wooden Bracelets
Another Pinterest attempt. I like how these turned out for the most part, but the white one didn't keep it's shape so it is too big to wear. I started the soaking process before the camping trip. Here are the instructions to give it a try: Wooden Bracelets.

07/17-18/2012 - More Wrist Cuffs
I made a couple more examples of cuffs and led a quick tutorial at the Makin' It DIY event on the 18th. I didn't realize until a couple weeks later and had it pointed out by someone that this is not the peace symbol I intended. It was a big "duh" moment that I was showcasing an upcycled rubber cuff promoting the Mercedes Benz logo.


