Showing posts with label bag. Show all posts

Tuesday, March 20, 2012

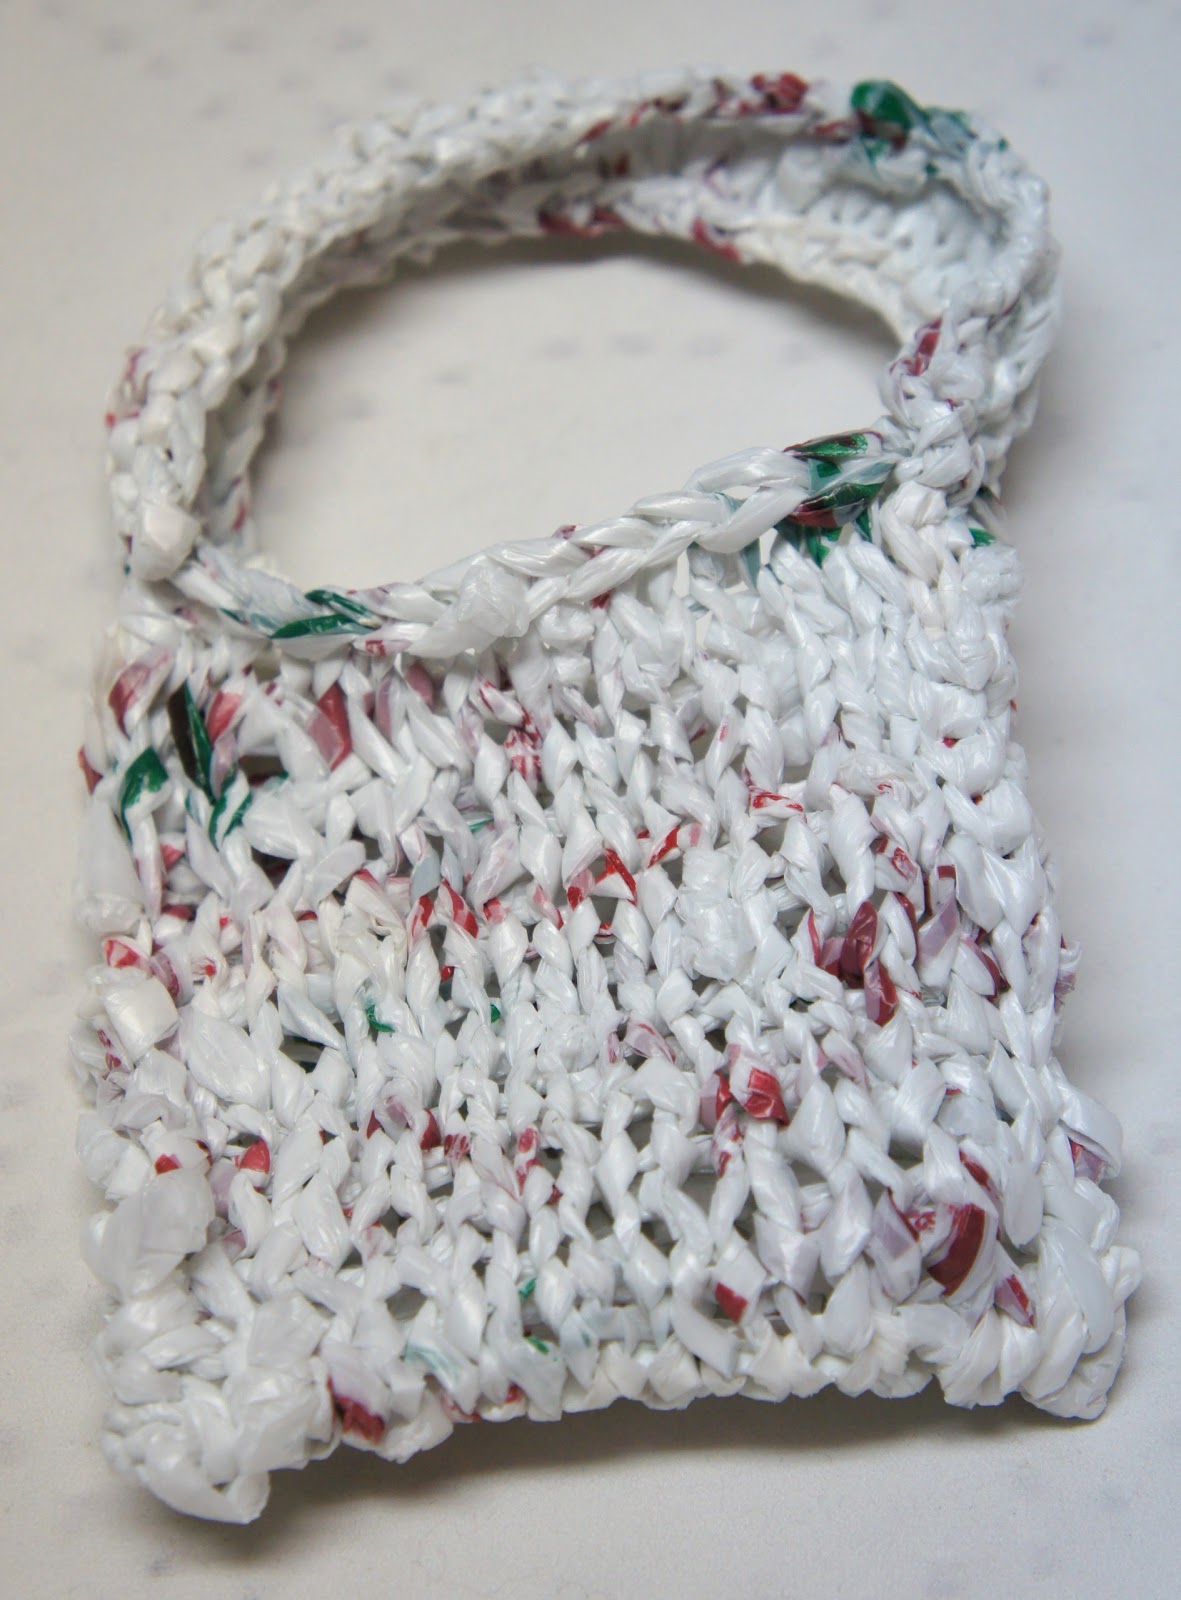
03/02/2012 - Handle for the Plarn Bag

Finally done with this little bag! Zoe was getting impatient to have it, but I had to make her wait until I got a picture of it.

Reclaimed Material: plarn
Other/New Material: none
Tools: scissors, knitting needles

How I did it: I knit the handle about 8" long and stitched it onto the bag.


What I would do differently: I really like to just sit and knit, but I don't know if I really care about making something with plarn again now that I have gotten it out of my system. Who knows though, I still have nine and half months of upcycled projects to do!

Monday, March 19, 2012

02/22/2012 - Mylar Balloon Camera Sleeve

Crafting on a road trip is not the easiest thing to do, well at least to do well. I had to get creative on this one. I found a Mylar balloon in the stockpile of goodies my sister had for me and combined it with a pair of disposable chopsticks (how is that for ingenuity?) from my mom to work on this project.

Reclaimed Material: Mylar balloon, potato chip bag
Other/New Material: none
Tools: scissors, wooden chopsticks

How I did it: Starting at the top of the balloon I cut into one side of the balloon and began cutting a horizontal strip then continued cutting it like an apple core to use as my "yarn". Using the chopsticks as my needles, I started knitting the balloon to make a sleeve for my sister's camera. The seams of the Mylar came apart in a couple places so I had to tie the pieces together. Unfortunately, I ran out of the Mylar before I was able to finish. Julie suggested using a chip bag to finish so I started the same process as with the Mylar and knitted the chip bag onto the Mylar. I used the potato chip "yarn" too stitch the piece into a sleeve.

What I would do differently: I have a habit of knitting really tightly, so chopsticks didn't really help. Using real knitting needles would be easier next time. (The picture was taken before the chip bag was added.)
Wednesday, January 18, 2012

01/11/2012 - Pink Fused Plastic Gift Bag

I got a pink plastic bag from a local cake decorating shop (yes, I forgot my reusable bag) and it seemed wrong not to make it into something else. I have tried unsuccessfully to make fused plastic crafts before so I am happy this finally worked.

Recycled Material: pink plastic bag
Other Material: none 
Tools: iron and board, scissors, tape measure or ruler, scrap cotton or linen, 2" thick box 

How I did it: The first thing I did was flatten the bag (about 18"x24") and trimmed off a long strip from the side 2" thick for the handle. After my iron was hot I laid the remaining part of the bag on the ironing board and covered it with the cloth, then ironed the bag to fuse the sides together. If you try this, make sure you keep the iron moving or you will have a plasticy mess on your hands, not to mention the smell. I ironed the piece for a few seconds then let the plastic rest for a moment before peeling off the cloth. The plastic shrunk about a third of the size and hardened a bit. I think it would have hardened more if I kept ironing, but I didn't want it to be too stiff. It was also puckered and wrinkled, so I will need to keep practicing to figure out other textures. Then I ironed the long strip for the handle to the texture I wanted.

I trimmed the large piece of plastic to 9"x10" then measured and marked 4" in on both ends of the 10" side  and folded them up to be the front and back of the bag. The plastic was surprisingly easy to crease. Next I measured and cut 2" in on each crease then folded the 2" pieces all around then folded the pieces to overlap like a "U" shape looking at it from the side. This is where it got tricky and the 2" thick box came in (I had to cut a small box to use). I put the box inside the bag and butted it up against the 2" side and covered the plastic with the cloth to fuse the flaps together with the iron. I made sure the sides were fused before adding the handle. This part took a longer to fuse because of the thickness and (I am assuming) because the plastic had cooled. I then put the handle inside the bag centered on the 2" piece then fused it with iron the same way and repeated it on the other side.

What I would do differently: I need to spend more time fusing different types of plastic. There really isn't anything I would do differently since it was a simple concept that was a little harder to execute than I expected.