Zoe got an awesome package from her Grandma Judy in Chicago celebrating all the spring holidays, including some fun Mardi Gras masks and beads. She had a little bit too much fun with the necklaces and broke a couple, so they got added to my craft supply. This could be done with none broken beads and a rubber band or piece of elastic too.
Reclaimed Material: beaded necklaces, bicycle inner tube
Other/New Material: none
Tools: scissors
How I did it: The first thing that I had to do was tie the broken ends back together, so I took really skinny strip of the rubber and tied it between the end beads to connect them. Next I lined up the two necklaces where I tied them together and folded it in half. I took another rubber strip and looped it around the necklace fold and the skinny strips used to tie the beads back together and tied the bigger strip together.
What I would do differently: There were a few other ideas that I was going to try, but they just didn't quite work out. I know there are about a million different things to do with these colorful buggers.
My 2012 resolution is to create a recycled craft everyday from discarded items. I am sure some crafts will turn out great...and others not so much, but I will admit those. I hope these experiments inspire people to create things from items they would usually throw away. This is not necessarily and instructional blog, but a journal of my creative journey, but I hope this sparks ideas for creative upcycling for you. If any instructions are needed, just ask.
Showing posts with label beads. Show all posts
Tuesday, March 20, 2012
Sunday, January 29, 2012
01/27/2012 - Aluminum Flower Hair Pins
This is an easy and cute way to snazz up bobby pins or old barrettes.
Reclaimed Material: aluminum can, beads from SCRAP, old wire
Other/New Material: bobby pins
Tools: small flower punch, straight pin
How I did it: 
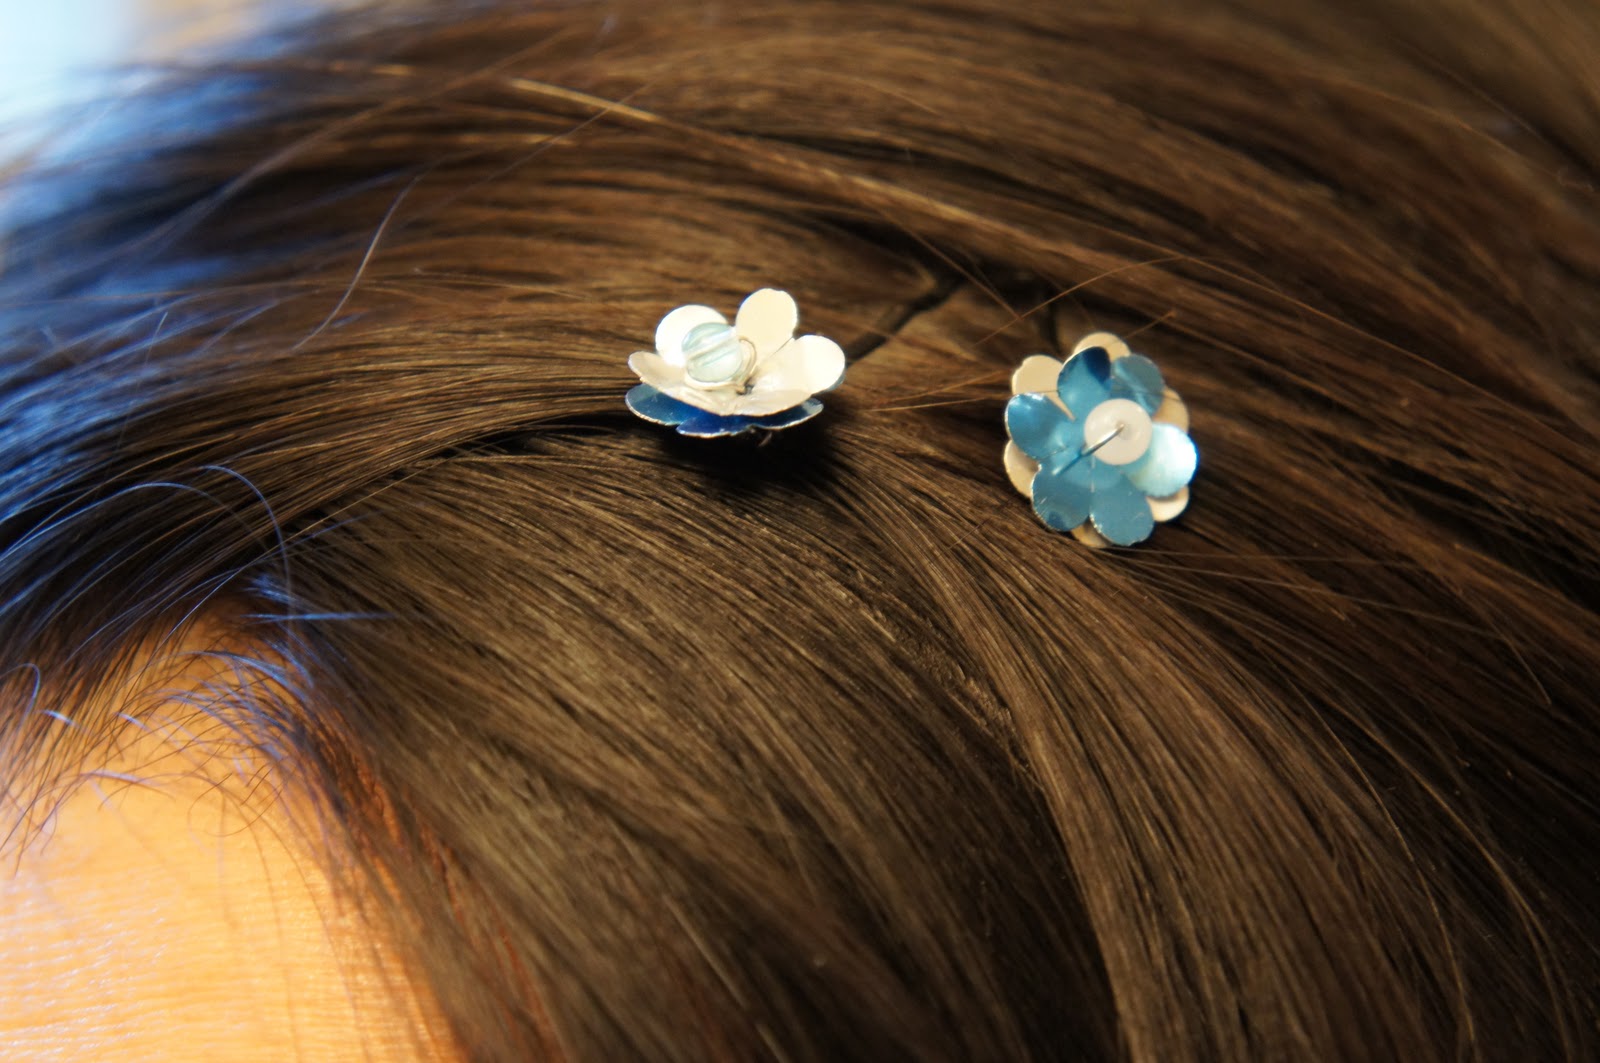
I used the flower shaped craft to punch out four flowers from the aluminum, two blue and two silver. I put one blue flower over a silver one and used the straight pin to poke holes in the centers of the flowers. Then I cut a piece of the wire about 2" and threaded the bead onto the wire and pulled the two ends of the wire through the centers of both flowers. I wrapped the wire around one side of the bobby pin, trimmed the excess and tucked in the edges. I repeated it the steps with the second bobby pin.
What I would do differently: I thought I was being clever by reusing a piece of wire from a string of beads I purchased, but this only made this project take about 10x longer than it should have. I was happy to reuse wire, but I would have saved myself a lot of time by using jewelry wire which is more pliable. I will try this again using other shapes and material like colored plastic bits from lids or laundry soap bottles.
Reclaimed Material: aluminum can, beads from SCRAP, old wire
Other/New Material: bobby pins
Tools: small flower punch, straight pin
What I would do differently: I thought I was being clever by reusing a piece of wire from a string of beads I purchased, but this only made this project take about 10x longer than it should have. I was happy to reuse wire, but I would have saved myself a lot of time by using jewelry wire which is more pliable. I will try this again using other shapes and material like colored plastic bits from lids or laundry soap bottles.
Subscribe to:
Posts (Atom)